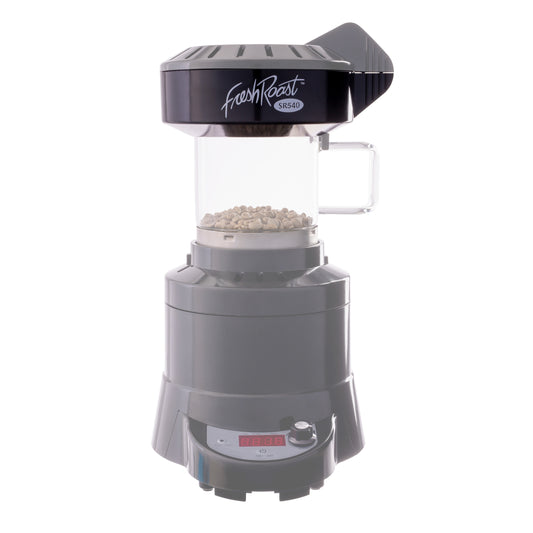
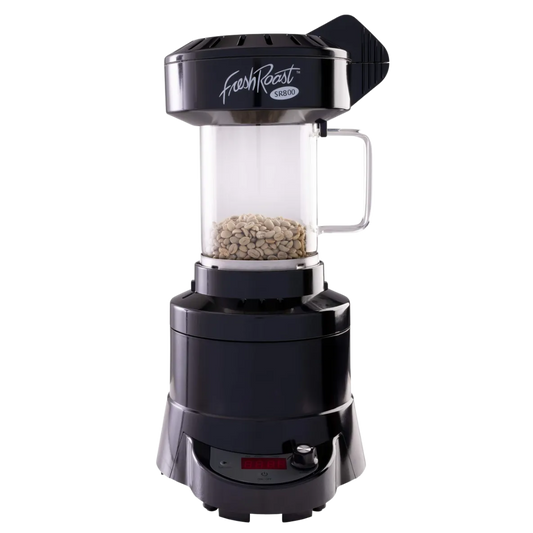
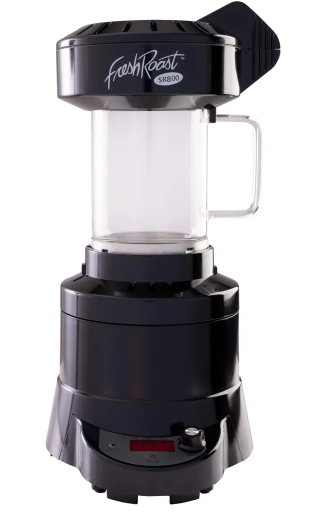
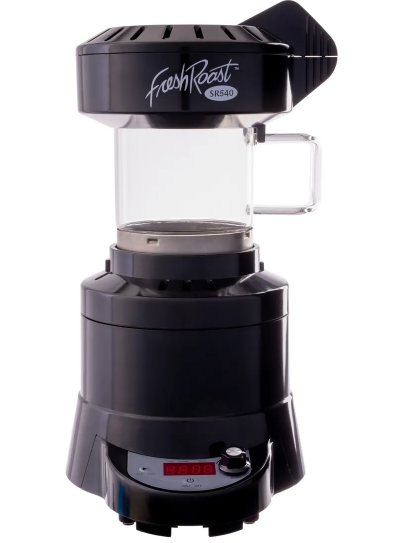
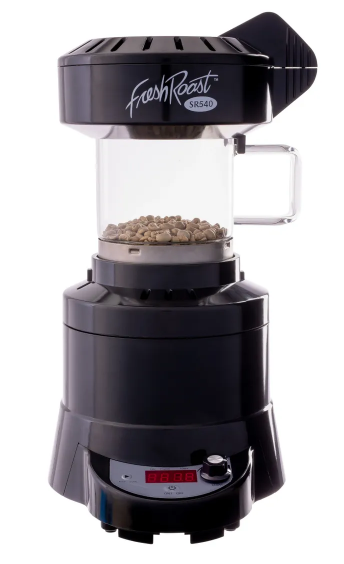
Fresh Roast SR540
Repair Your Fresh Roast Machine
Let us help you get back to fresh coffee
How to get your Fresh Roast roaster repaired
WHAT MACHINES ARE REPAIRABLE?
*Currently, we are not able to repair the Fresh Roast SR500 and the 700. We have had a shortage of parts for this model and are unable to perform the service*
- If the condition of the machine is beyond repair, we will contact the customer and work on a replacement or upgrade. If you have the older Fresh Roast without the digital timer knob, you will need to contact us before to determine if we have any available parts for those machines.
WHEN TO SEND IN YOUR COFFEE ROASTER FOR REPAIR
If your Fresh Roast roaster doesn't perform like it did when it was new, doesn't roast the beans to the darkness you prefer, or there is another concern, then we would be more than happy to repair your machine and get you back to your coffee roasting perfection!
WHAT DO YOU NEED TO SEND?
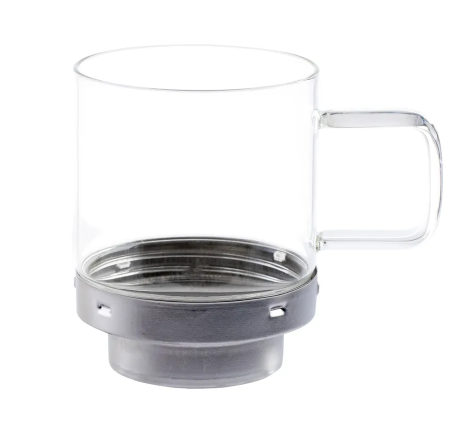
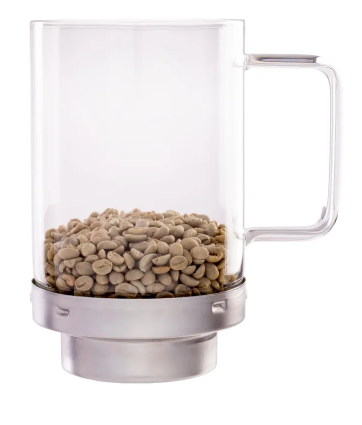
- Please fill out the repair form below. We need just the base unit well packaged to prevent any further damage. We do not need the glass chamber or top assembly. (Unless authorized).
HOW LONG DOES IT TAKE?
- Our typical turn around time is 4 days, before it is being sent back to your return address.
HOW DO I PAY?
- We ask for $50 to have your machine repaired. A check to Home Roasting Services LLC or we can arrange a Paypal invoice to be sent to your email address for the service.
WHAT WILL BE DONE IN THE REPAIR?
- We will clean the exterior and interior of the machine to get rid of any debris. We have found chaff, hair, and lint inside the machines. Then, a test to see what parts are defective. After replacing defective parts, we will tune and test the machine 3-5 times, to verify the output temperatures, function of the controls and fan speed.
WHERE DO I SEND THE BASE UNIT?
- Please use our Utah warehouse address.
If using UPS or FEDEX:
Home Roasting Services
ATTN: REPAIR
450 East Canyon Rd
Henefer, UT, 84033
If using Mail USPS:
Home Roasting Services
ATTN: REPAIR
PO Box 417
Henefer, UT, 84033
*Currently, we are not able to repair the Fresh Roast SR500 and the 700. We have had a shortage of parts for this model and are unable to perform the service*
